A quick guide to adding events to your website using the Events Calendar plugin
We often use The Events Calendar plugin on websites for clients who what to promote events. It provides a simple interface for adding events to your website.
The guide below shows how easy it is to create a new event.
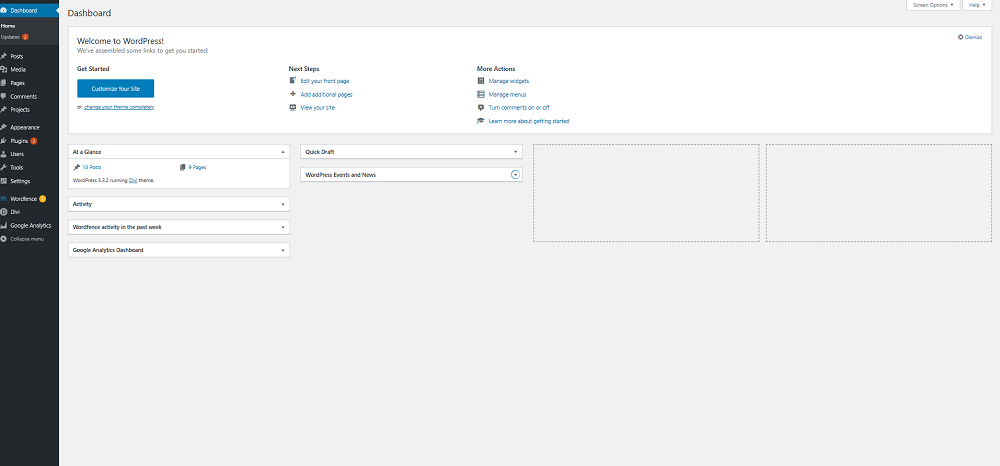
1: Logging in to your website
Login to your WordPress dashboard. You get to the dashboard login page by entering your website URL followed by /wp-admin. For example, if we wanted to log into this website we would type: https://www.thedigitalgrapevine.co.uk/wp-admin
You should have been provided with an editor WordPress username and password to your website. For website updates is it best to use your editor rather than your admin login.
If you have forgotten your password, you can request for it to be reset, or Get in Touch with us for help.
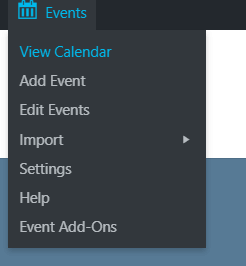
2: Adding an event
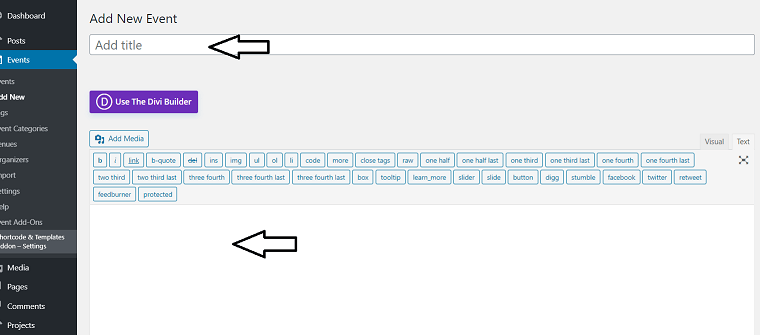
Go to Events > Add new
Add a title and description
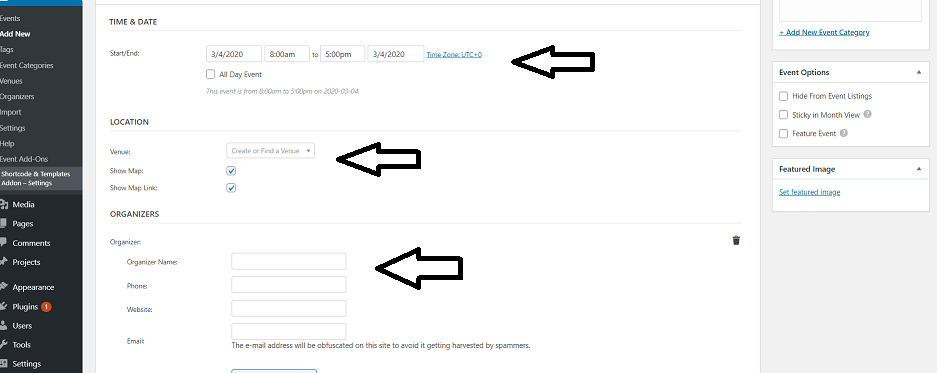
Scroll to the Time and date section and set:
All day event (optional)
Start date and time
End date and time
In Location, choose an existing location or create a new one by selecting “Use new venue”.
Create a new location by adding:
Venue Name
Address
City
Country
State or Province
Postal code
Phone
Website
Check or uncheck to show google map and link
If you want to add an event organiser, under Organizers, type the details for a new or choose an existing one:
Organizer name
Phone
Website
Email
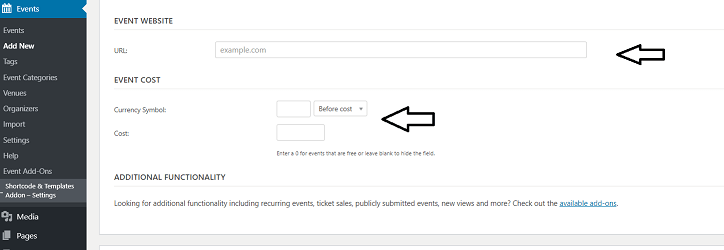
In Event cost, enter a price (if applicable)
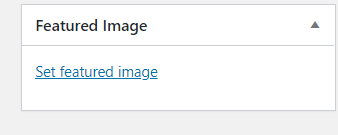
When you’ve added the event details, add a featured image.
This can be found at the bottom right of the screen.
You can either select an image from the media library or upload a new image.
It is important to optimise images before uploading them as this will improve website performance. We recommend reading this detailed guide about the hows and whys! But a key point to remember is not to upload a photo straight from a phone or a large file from a stock photo site. Also remember to use images that you have rights to use. Don’t just take images you find on Google! There are some good stock image sites out there and this article lists the best ones.
Images used should be around 600px by 400px.