A quick guide to editing your website using Divi Visual Builder
Many of our clients like to have the freedom to update text on their website themselves. If your website was created by us, using the Divi Builder, this guide will show you how to make minor textual changes and how to change images.
To reduce the risk of ‘breaking’ anything if you want to make your own updates, we will provide you with an login which gives restricted access to the website. Get in touch for access.
1: Logging in to your website
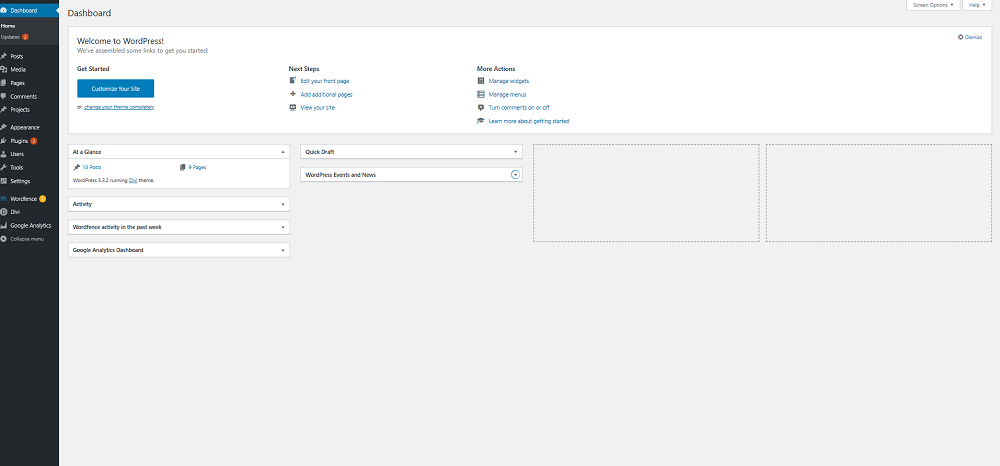
Login to your WordPress dashboard. You get to the dashboard login page by entering your website URL followed by /wp-admin. For example, if we wanted to log into this website we would type: https://www.thedigitalgrapevine.co.uk/wp-admin
You should have been provided with an editor WordPress username and password to your website. For website updates is it best to use your editor rather than your admin login.
If you have forgotten your password, you can request for it to be reset, or Get in Touch with us for help.
2: Editing text on a page
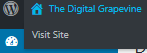
From the dashboard you can get to the website by selecting “View Site” in the top left hand corner of the dashboard
Once you have made changes, you need to save them to make sure the changes go live.
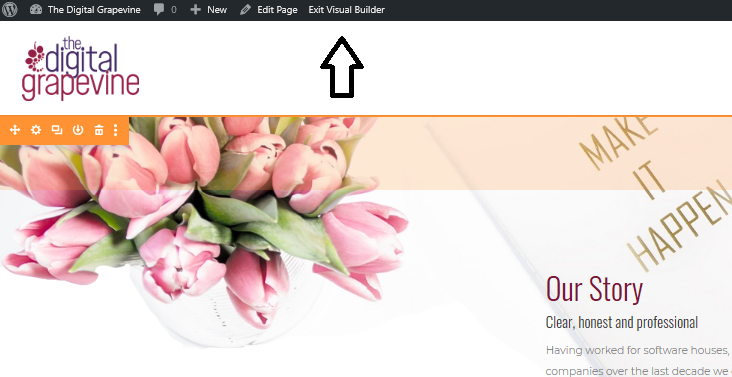
Click on the purple circle with the three dots, at the bottom of your screen.
This will open up some new icons and the “Save” button is the green button on the right.

Once you have made your changes, make sure you exit the Visual Builder.
3: Changing an image
This covers replacing an image in a page with a new one. It does not cover changing an image used as a header or background in a site.
It is important to optimise images before uploading them as this will improve website performance. We recommend reading this detailed guide about the hows and whys! But a key point to remember is not to upload a photo straight from a phone or a large file from a stock photo site. Also remember to use images that you have rights to use. Don’t just take images you find on Google! There are some good stock image sites out there and this article lists the best ones.
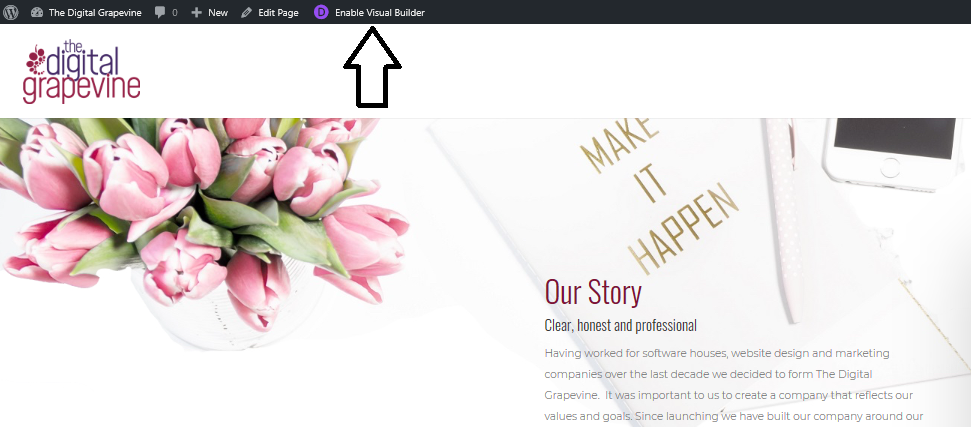
Firstly “Enable Visual Builder”, as before. Hover over the image you would like to change. You should see a grey band with icons. Click on the ‘cog’ icon.
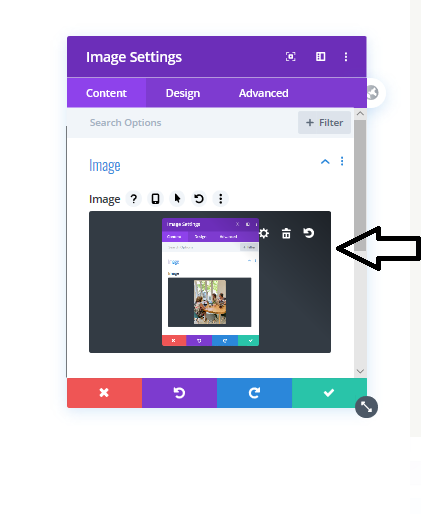
You can do this by clicking on the ‘Cog’. This then gives you the option to select an image that has already been uploaded to the website or to upload one.
Once you have uploaded the selected image, make sure you click on the green tick. To Save your changes click on the three dots in the purple circle at the bottom of the page. The icons shown below will be displayed to allow you to Save changes. Once finished Exit Visual Builder as above.